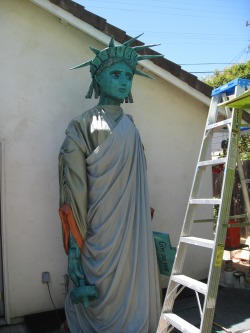
Today: clothing details, tried the puppet out on the backpack frame, walking around the yard (doesn't like wind but none of these giants do.) Now down to the details. Spend the second half of the day working on the horse head. We are finding a lot of pins and needles on the head, still attached to thread and holding stuff up. I guess we ran out of time last year. Also, it was hard for everyone working on the horse head, as it was 12 feet in the air...not so comfortable to work on...the feet were all done! Hmmm.
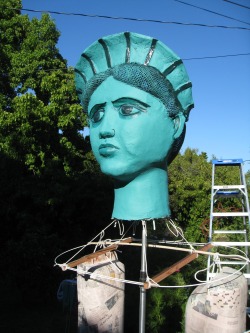
The ladder is 8 feet tall, for scale.
FYI: Things that worked: 3M spray adhesive, hot glue, sewing, thermo plastic mesh, silk.
Things that did not work: Krylon plastic paint ("no prep, just paint it on..bonds to plastic") - scratched right off, craft knives (blades just kept falling out), drills (of my three, none of them worked all the time).
Things yet to find: Good bamboo of the right length!
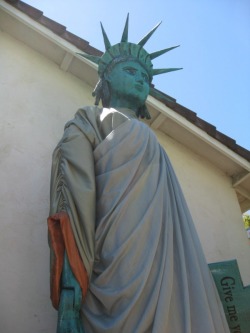
I had to go get the giant puppets (General and Mrs. Vallejo) from the fair today (they won the blue ribbon for best booth for the Vallejo booth) and go to the last 4th of July planning meeting, but still we are pretty much on schedule for the dressing of the Lady Liberty. No final photos of her clothes at the end of the day, as the wind came up and we had to lower her, but below are a few earlier views.
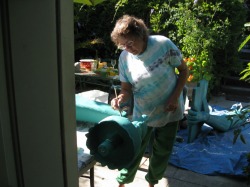
Today we started work early because costuming the giant had to be done before our coastal breezes come up. Well, they never came, and, while we planned to stop and about 1:00 and take the afternoon off for some much needed recreation (of some kind!) we ended up working all day anyway.
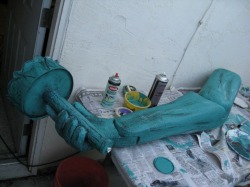
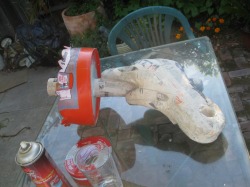
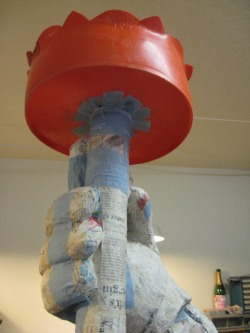
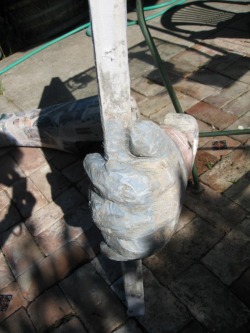
In a fit of "desire for perfection" I decided that the hand was holding the torch at the wrong angle (Valerie thought so too) and so I tore into the finished hand and wrist and arm, destroying and rebuilding. I imagine no one else would have cared, but here you can see where I have put them back together (just when we thought papier mache-ing was over forever!)
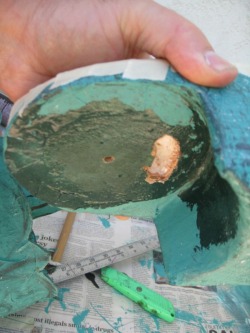
To the left and in the photo below you can see the pin and groove system I devised to make stops in the movement of the arms and in this case, the wrist, to keep them from going farther than looks normal. The pin fits in the groove and prevents movement beyond a certain point.
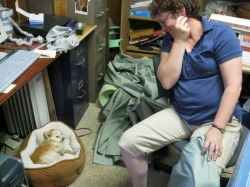
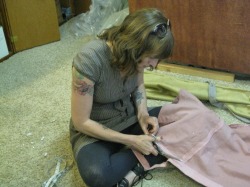
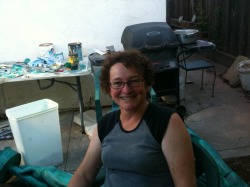
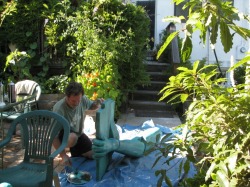
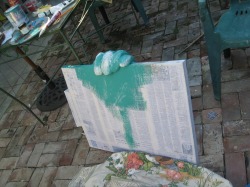
It was just the three of us working today. Here Valerie takes a break from sewing the gown to contemplate Bellas hard work.
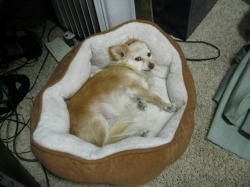
Bella's technique in detail, for those who want to study her "style."
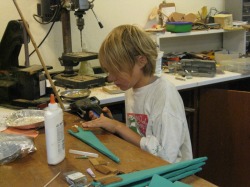
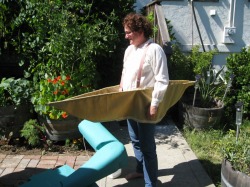
And also, at the end of the day we are too tired to write much. Today is Saturday. Tomorrow is one week until the parade. We had great help today from Jessie (again! Yay Jessie! Loyal Puppet Builder!) and Ilona and her son, Tenzin, who is good with a hot glue gun! (photos below.) Tomorrow in the morning, when the wind is low, we begin the costume!
Ilona works on the boat prototype here (below is Valerie demonstrating it. Ilona's son, Tenzin, above, hot glues supports on the spikes.
Just Valerie and me. Slogging along. More papier mache-ing, and starting to paint. Body tomorrow, and clothes over the weekend. Enjoy the photos.
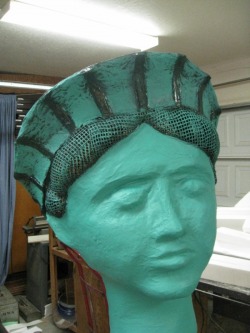
The title says it all. Today, besides all the gluing and drying, I started painting the head, made the sausage curls (she does have them!) and made some headway on the torch. Photos below.
Update on the giant Lady Liberty that will appear in the 2010 Vallejo July 4 parade, along with the giants from previous years.
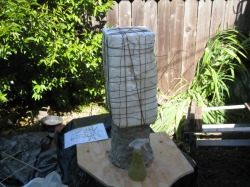
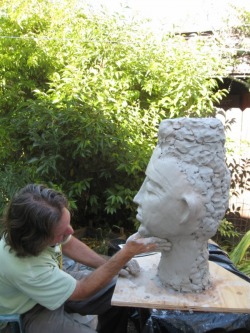
The head has been sculpted by Michael in clay. Figure 1 below shows the wood, wire and styrafoam armature for the head modeling. Photos of the original were used to sculpt the head in water based clay (figure 2.) (Scroll down the blog to an earlier entry for a scale drawing showing the size and scale of the finished puppet.)
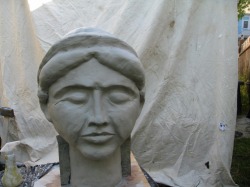
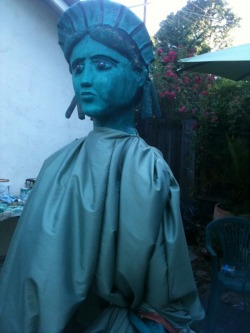
The actual liberty statue has a stern expression, captured here in clay. She takes "liberty" very seriously!
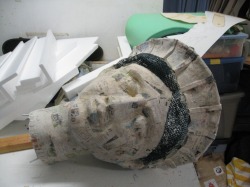
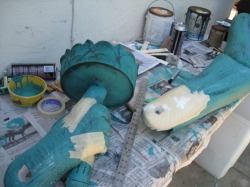
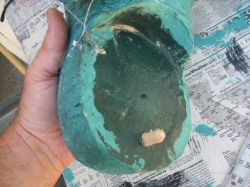
After the head was modeled, it was cast in traditional plaster of paris, and the resulting mold was used to make the positive in thermo-plastic mesh. Parts of the thermo plastic (the skin) are shown here with a layer of papier mache, which will later be painted. The hair portions will be left as the visible mesh, to give it a hair like texture. Thanks to Valerie and Jessie Horack for the first papier mache work on June 17!
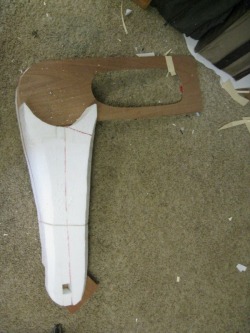
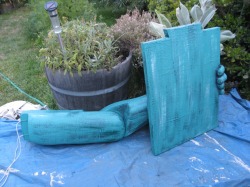
For the arms, I am trying a refinement of my giant arms from previous years. In General Vallejo (2007) and Benicia (2008), the arms were made of scavenged styrafoam (from furniture store packing.) They were roughly carved and reinforced with a bamboo rod through them, making them strong and very light. In both the Vallejos' cases, the arms were covered, so they only had to be roughly arm shaped. With the lady Liberty I am going to try to create a more refined arm shape in styrafoam, and then papier mache the arms where the skin is visible. Shown is arm number one, the experimental arm, to see how this technique might work. So far it looks promising.

 RSS Feed